Pull out your crafting supplies and create your own bird feeder at home! Upcycled bird feeders are easy to make and you probably already have all of the supplies. It’s a great project for family members of all ages. Share your photos in the comments below.
Milk Jug Bird Feeder
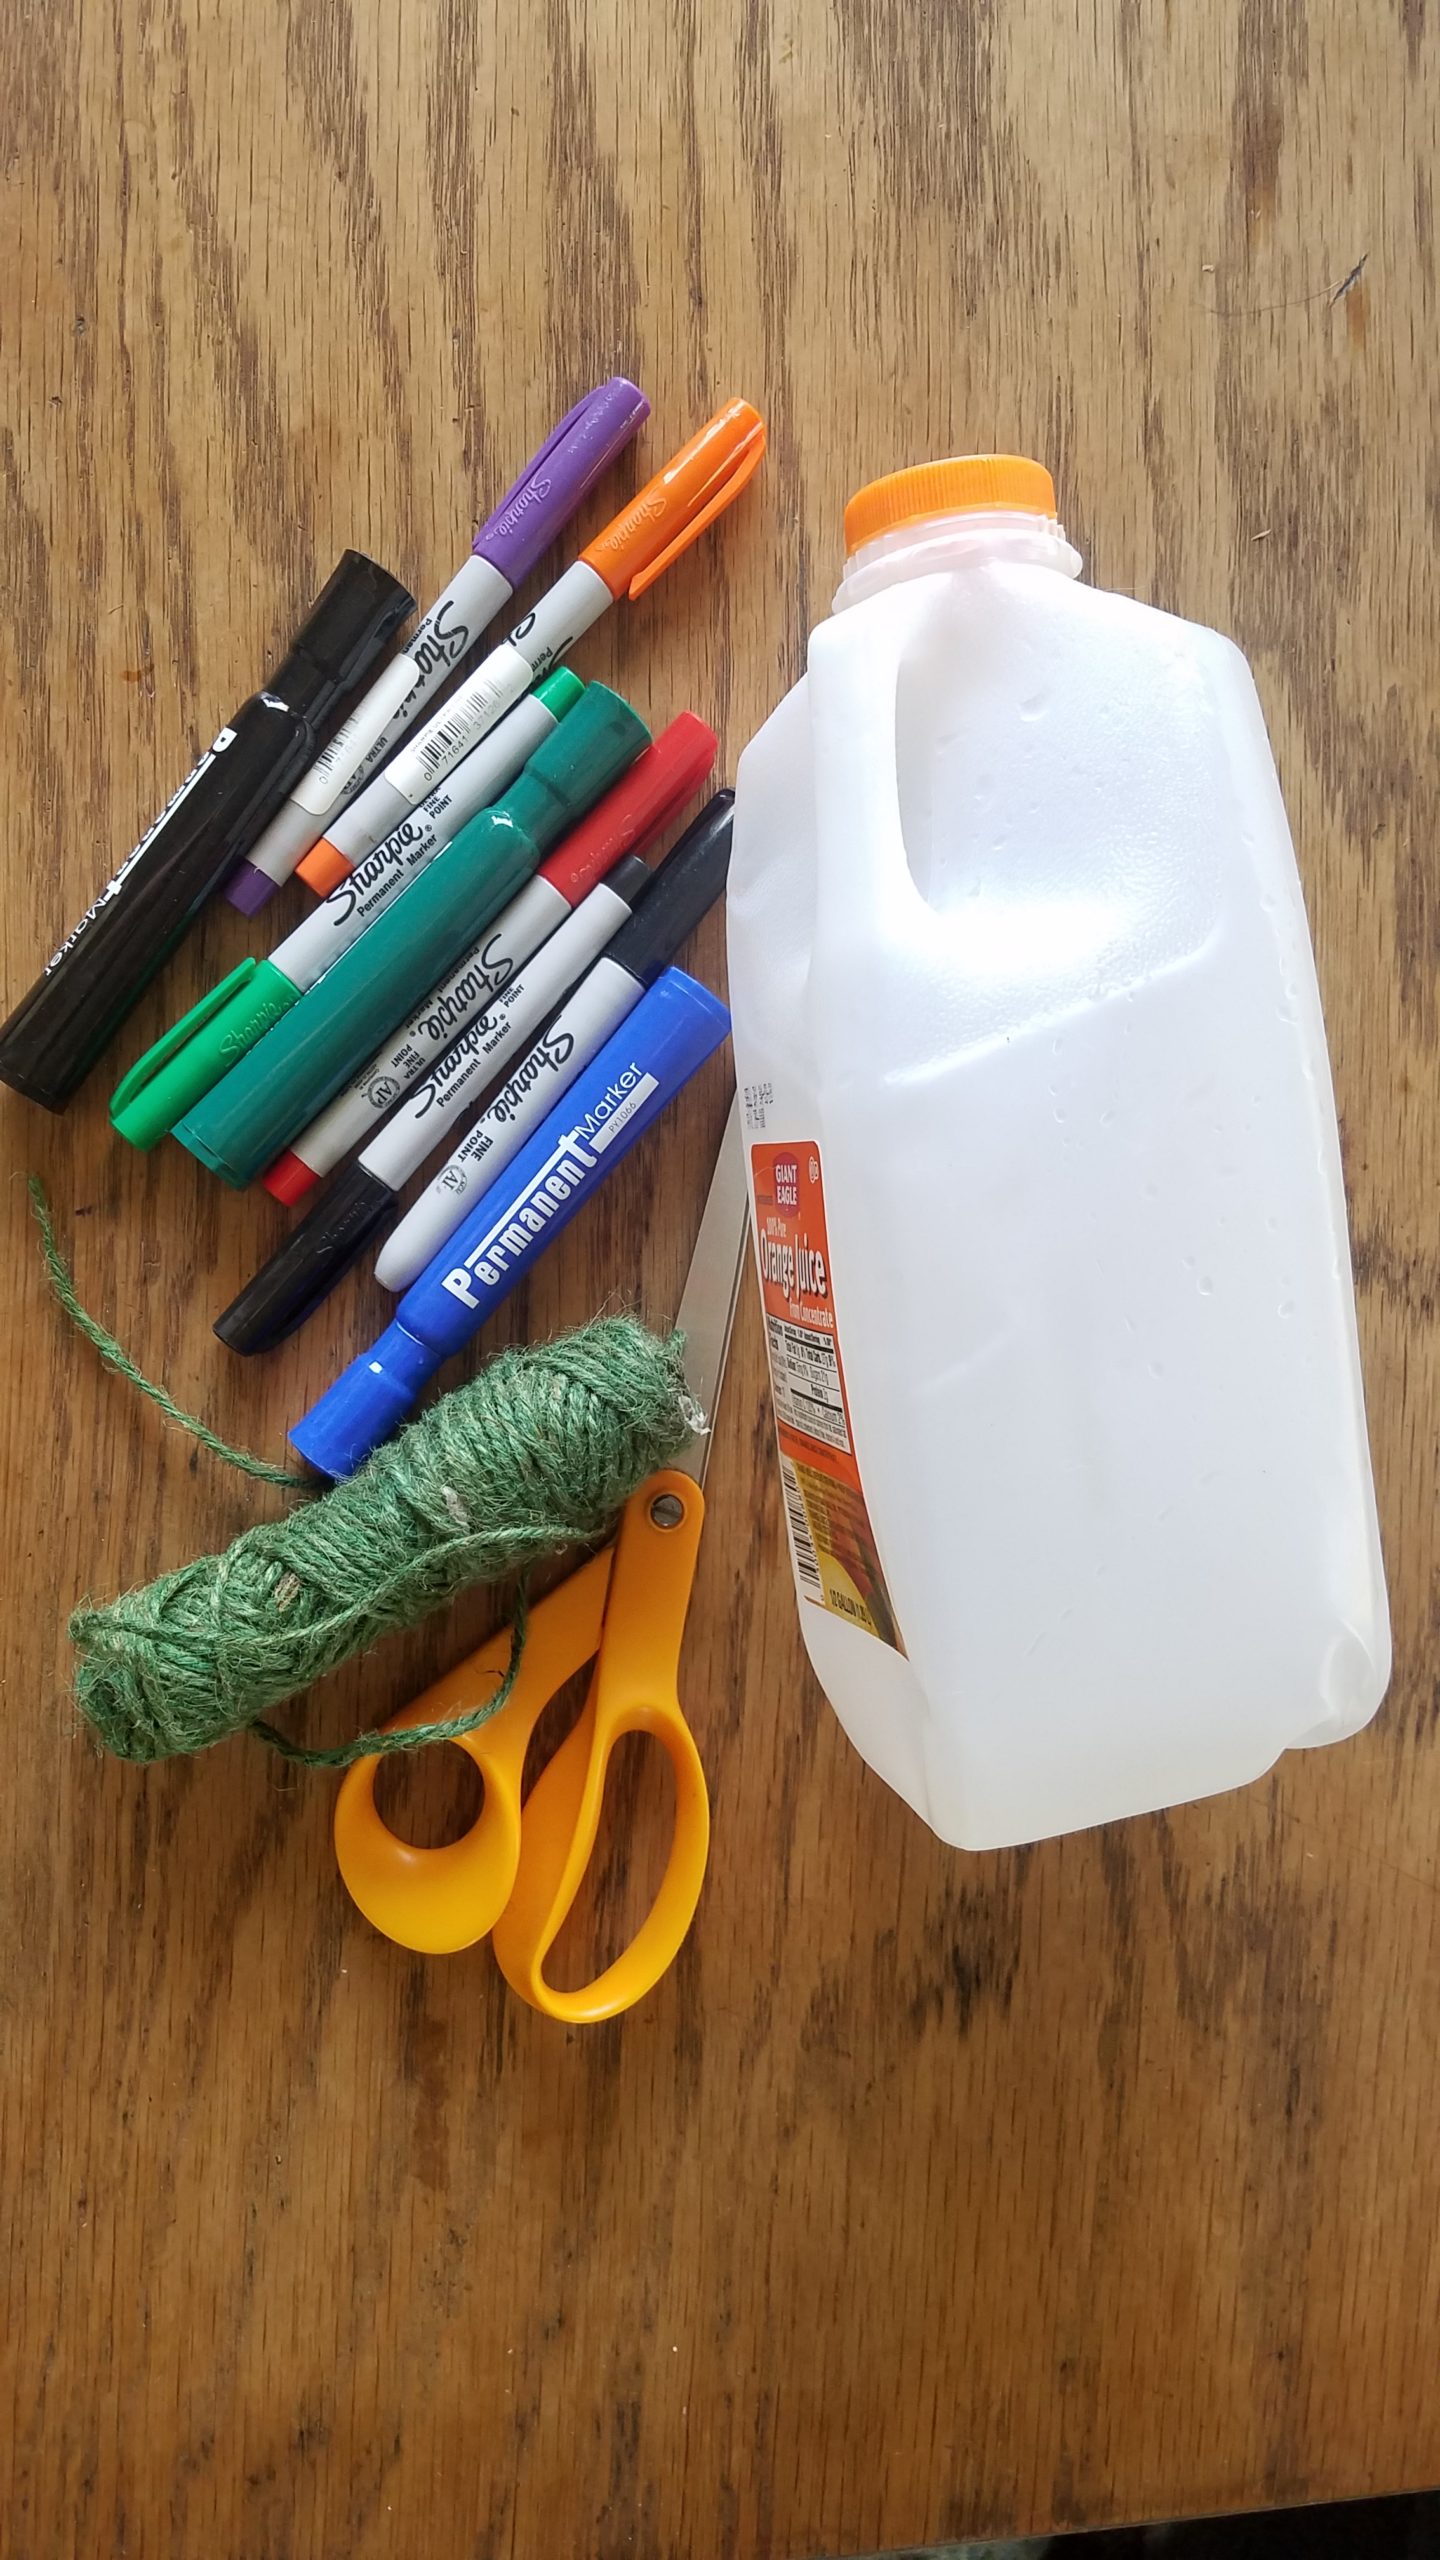
You’ll need:
A plastic jug with a lid
Markers
A sharp knife
Scissors
Yarn, twine or string for hanging
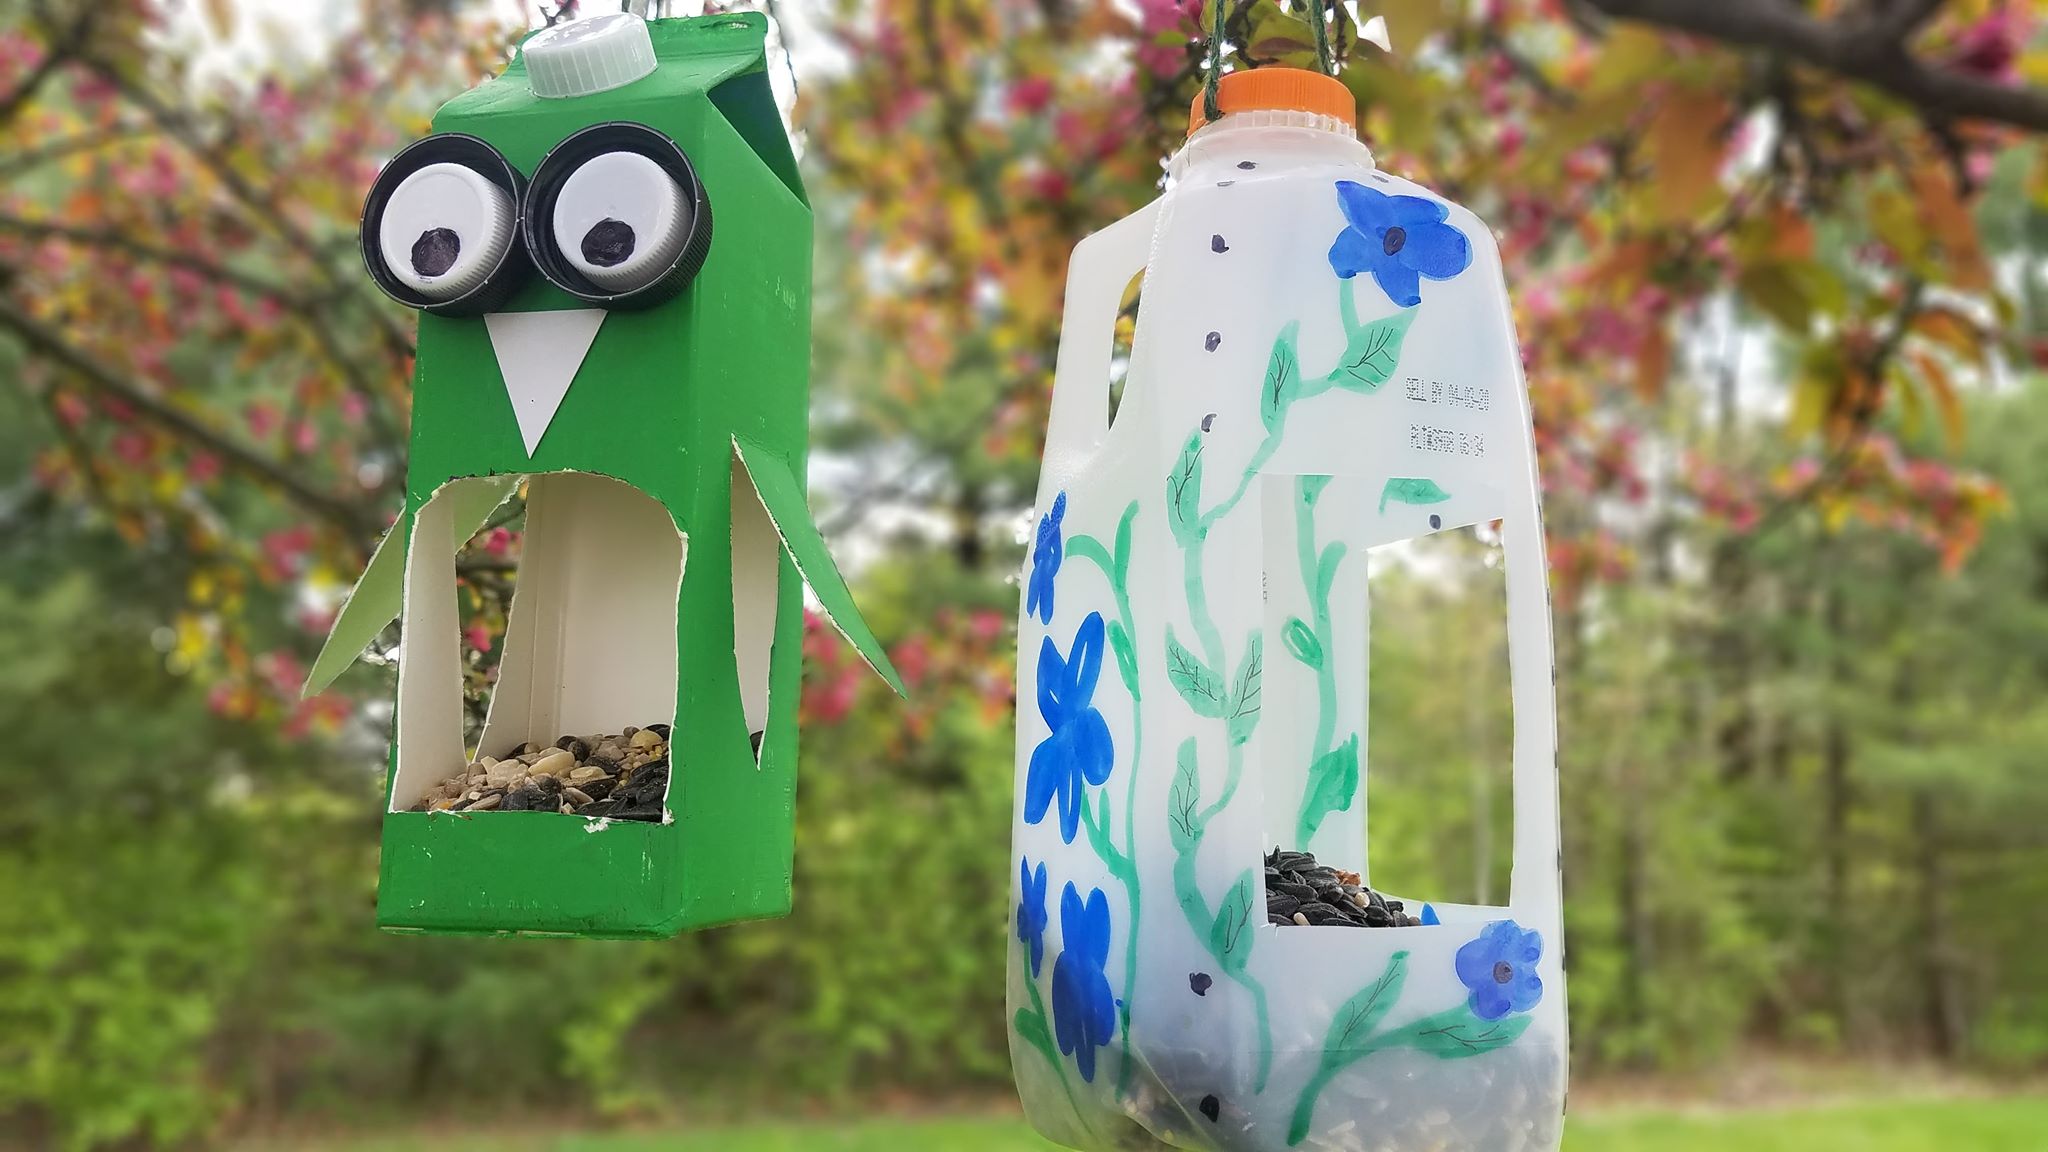
Thoroughly clean and dry the plastic jug. Using a small, sharp knife, poke a few holes in the bottom of the jug for drainage. Poke a hole in the side of the jug to make it easier to begin cutting. Cut pieces large enough for a bird to enter the jug. Make sure not to cut too far down the jug – there needs to be a few inches for the birdseed. Decorate the feeder with permanent markers.
Juice Carton Bird Feeder
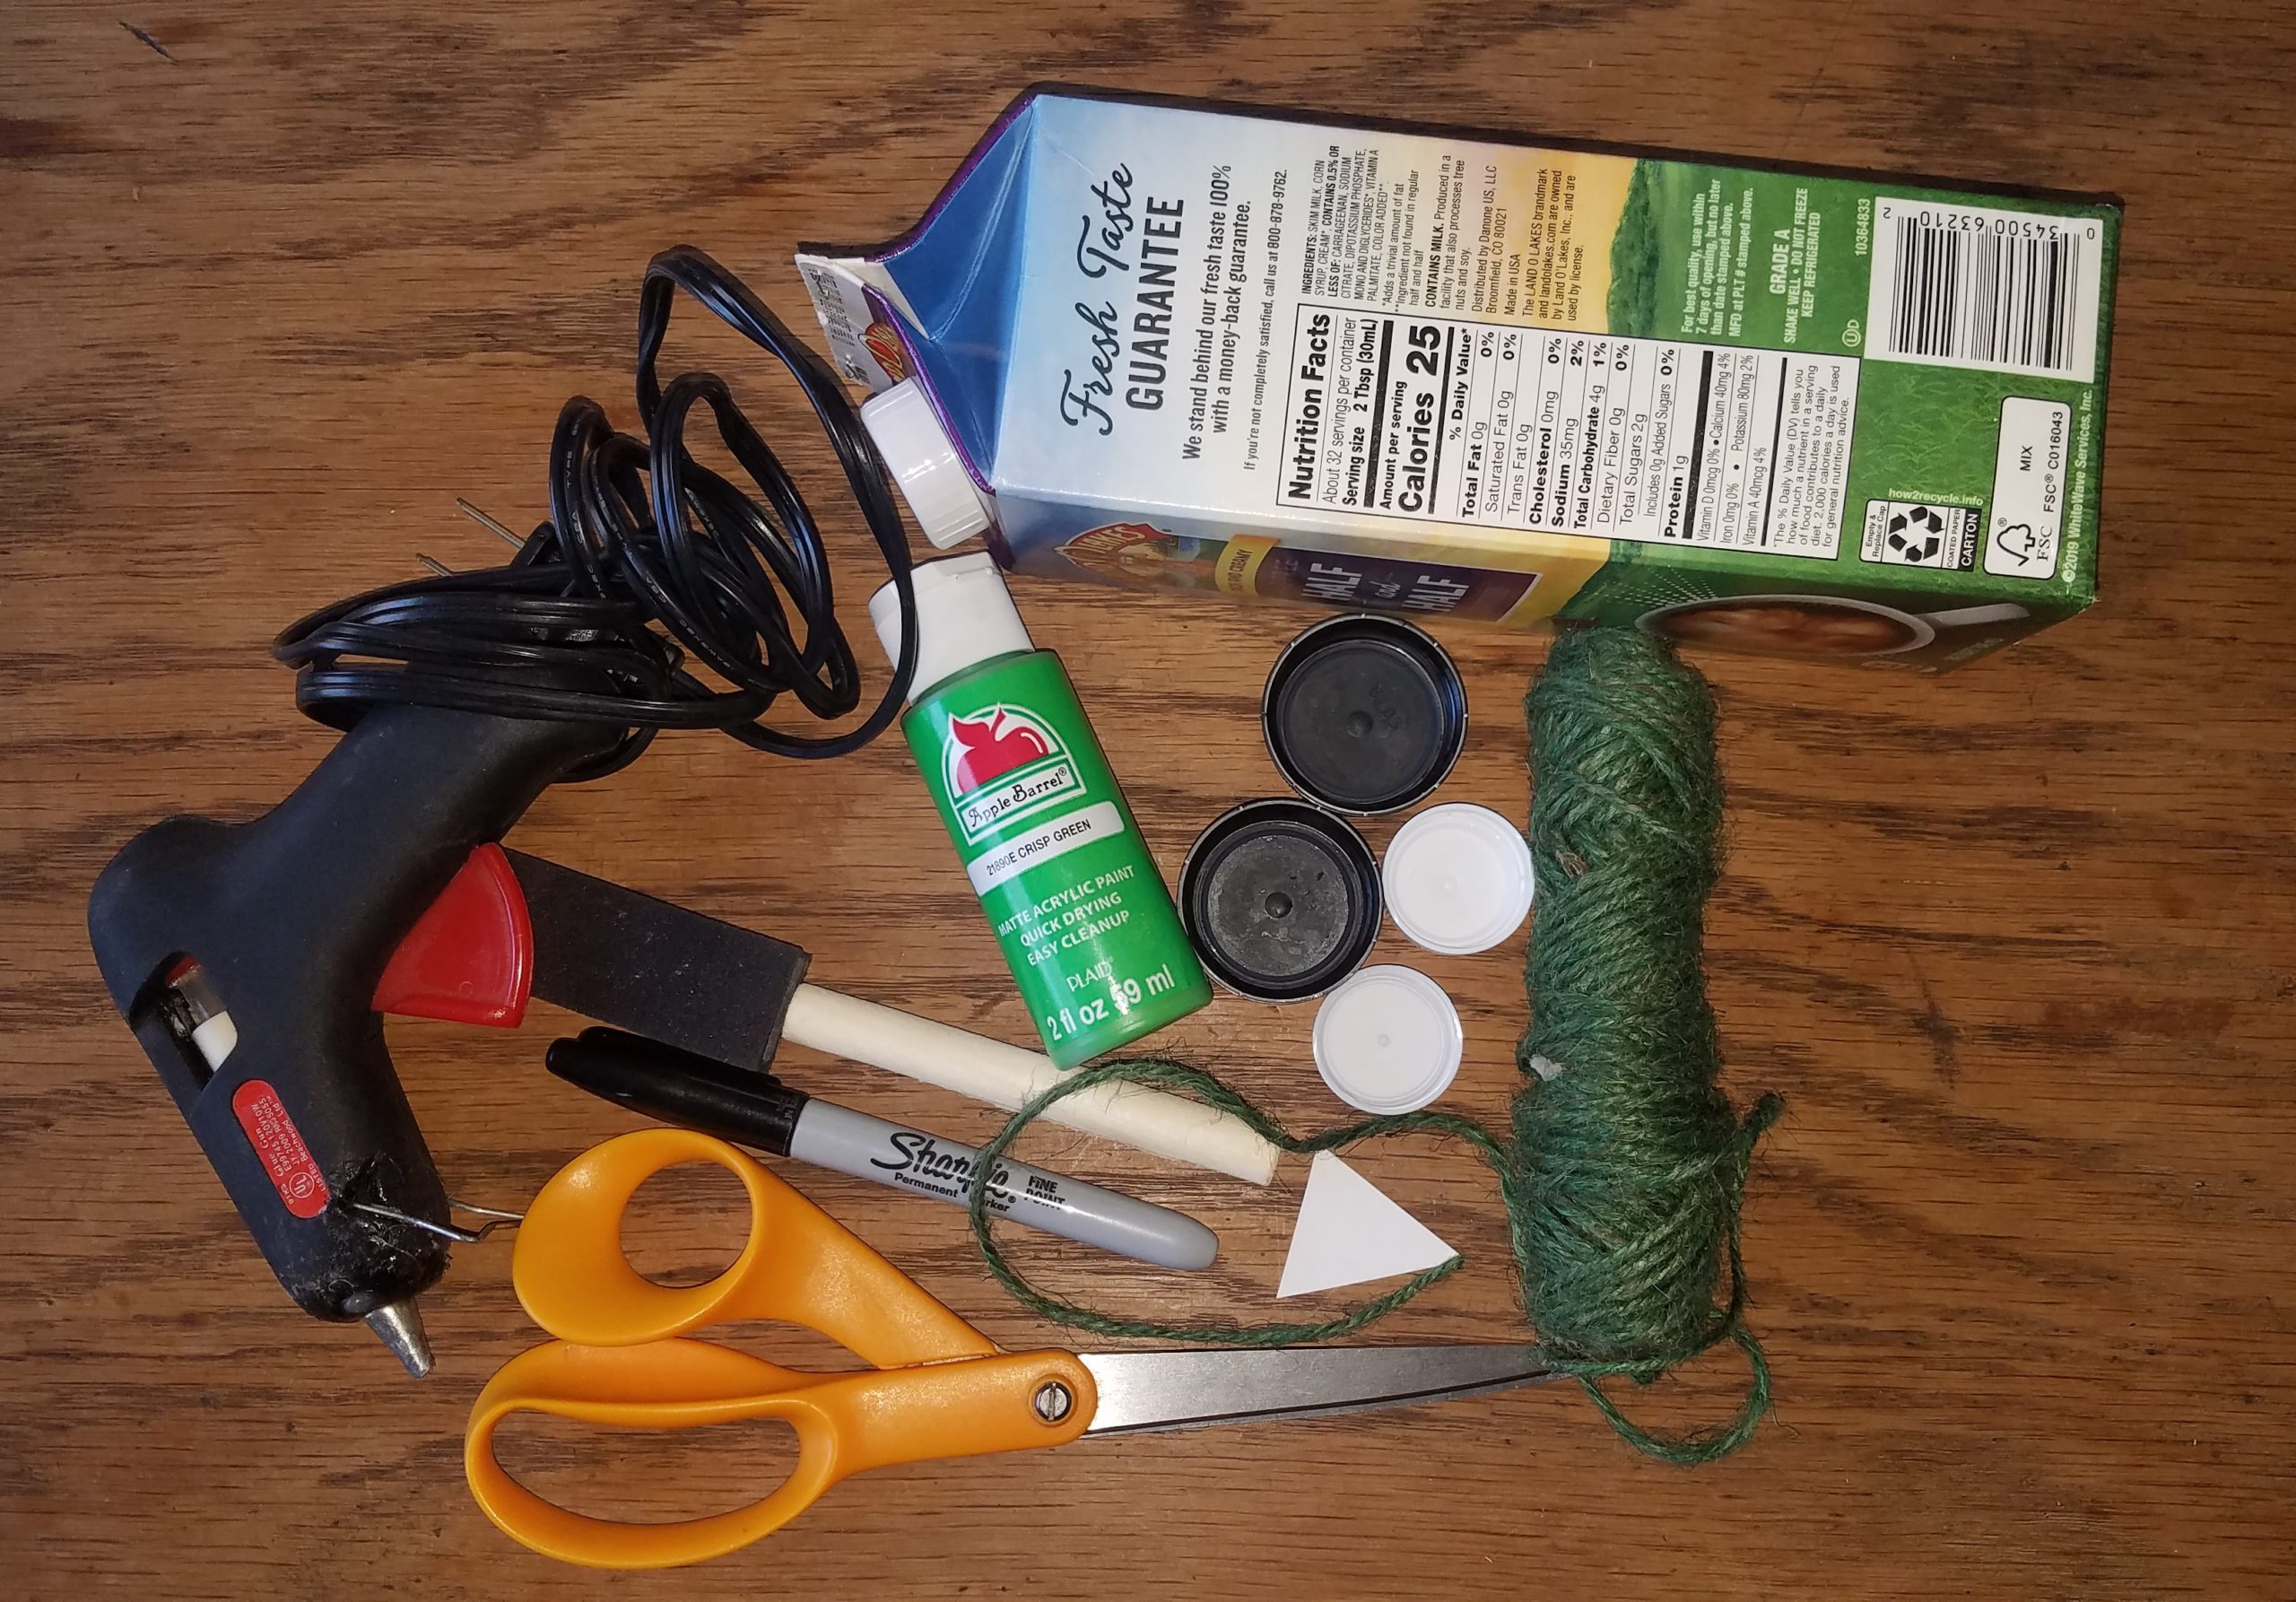
You’ll need:
A carton with a lid
Craft paint (enamel will last longer than acrylic)
A paint brush
A small, sharp knife
Scissors
4 bottle lids of two different sizes
A hot glue gun
A stapler
A permanent marker
Yarn, twine or string to hang
Make sure the carton is thoroughly cleaned and dried. If it has been opened, staple the top closed. Poke a few holes or cut a few slits in the bottom of the carton to let any standing water drain. Paint the outside of the carton. You may need two coats of paint for the outside, but you don’t need to paint the inside. Cut out a large square or oval “stomach” on the front of the carton. Cut two wings, but don’t remove the pieces. When cutting, make sure you leave a few inches for birdseed. Cut a small triangle out of the carton piece that was removed. This will become the beak for the bird. Hot glue the lids to create eyes. Use a marker to create pupils for the eyes. Attach the string or yarn to the top, hang outside and fill with yummy seed for your birds!